So you have finally ripped some retail packs, and BOOM! You found that big Lamelo RC, or Luka auto, and you want to grade it with PSA for that precious gem mint 10. You have looked at the edges, and they look good. Centering seems to pass the eye test. Corners seem good. Finding out what pushes it over the edge of being a 9 to a 10 is all too important, and we are going to show you exactly what to look for to take the guess work out of it.
Learning how to pre-grade your cards will take a lot of the guess work out of what to expect from PSA and other graders out there. Let’s start with the tools you will need to help grade the card.
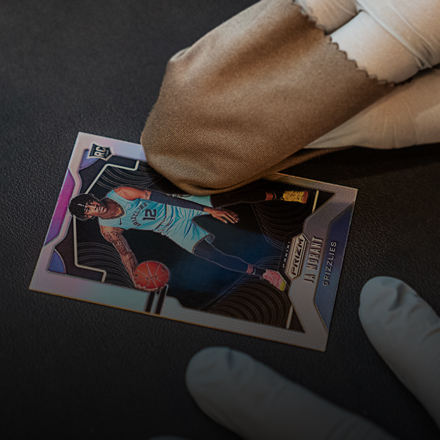
Gloves: When handling cards that will be graded, always use nitrile gloves. This will ensure that no oils from your finger tips will transfer to the card surface.
Micro Fiber Towel: Using a micro fiber towel on the card surface will ensure that no dust or particles are left on the surface, and it will allow any print lines or other imperfections from the manufacturer to be shown. In our opinion this is one of the most overlooked steps when someone submits to PSA.
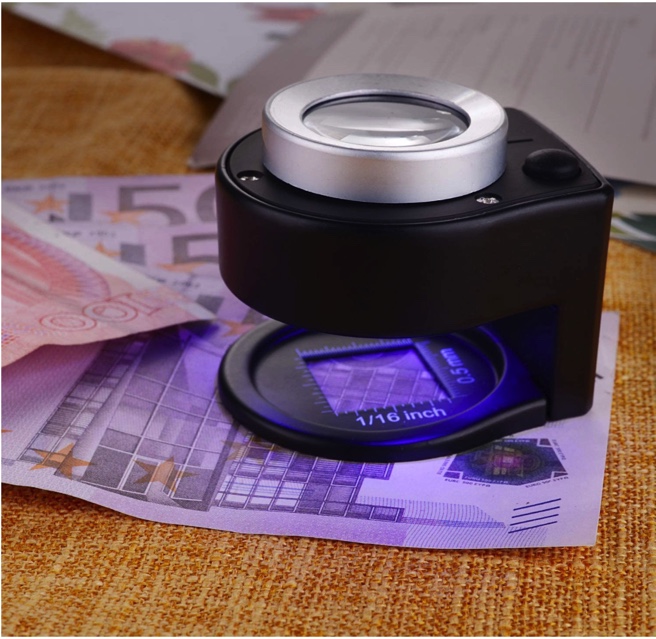
Loupe Magnifier: This is another key tool that is a must for anyone submitting to PSA themselves. This is crucial to be able to see imperfections in corners that may not be obvious to the naked eye. The magnifier below also includes a ruler built in to capture how centered the card is. For PSA, this isn’t as crucial since they generally allow for 60/40 centering, but it’s always good to trust your eyes, then verify. It also includes a black light to inspect for print lines, smudges and other imperfections.
So now the card is graded, and you have convinced yourself to submit to PSA. We have a few final tips to get that Gem Mint 10.
The grading process overall, even with some defined parameters, is still very subjective. For example, if the grader is having a bad day, they may be a little more critical of minor imperfections than the person grading next to them who had plenty of sleep the night before and ate a killer bacon and egg breakfast. So when packaging your cards, it is very important to not leave any irritations for the grader. They should be able to pull the card easily out of the top loader, out of the penny sleeve, and inspect the card.
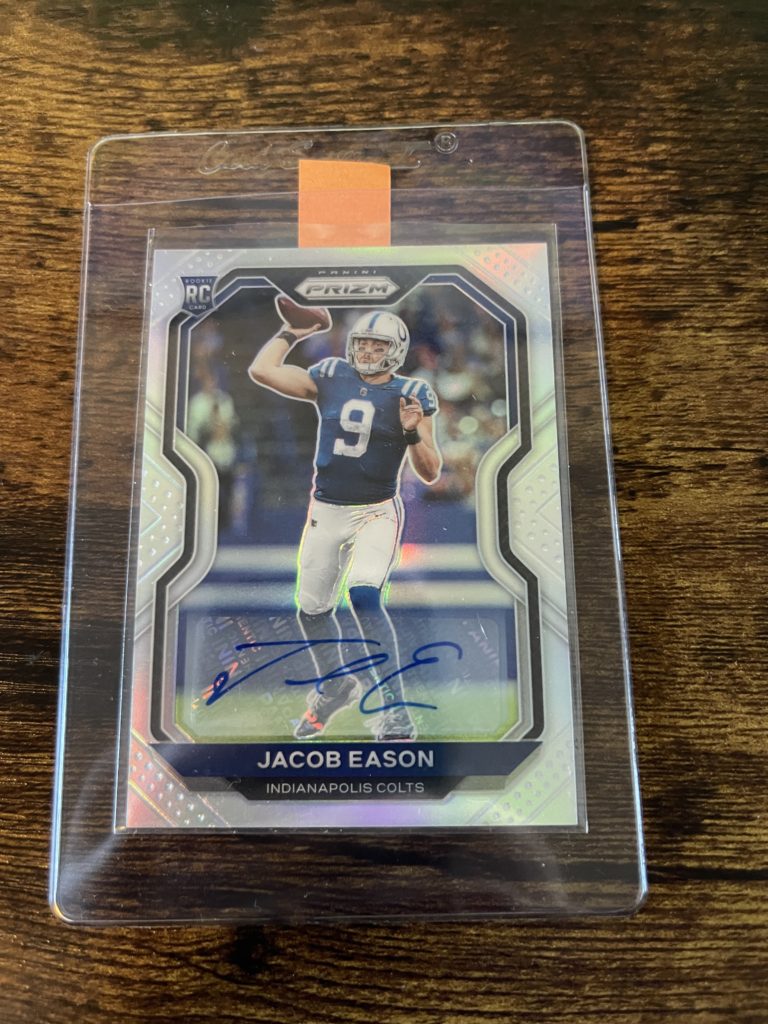
Penny Sleeve: Once you have done your card prep, it is now ready to go in the penny sleeve. One tip everyone should be following with penny sleeves; cut a slit in one of the top corners of the sleeve. This will help prevent you from dinging a corner when inserting your card.
Sticky Note: Once your card is in the penny sleeve, cut a small sticky note in half and attach to the penny sleeve. This will be the easiest way for the grader to pull the card out of the top loader.
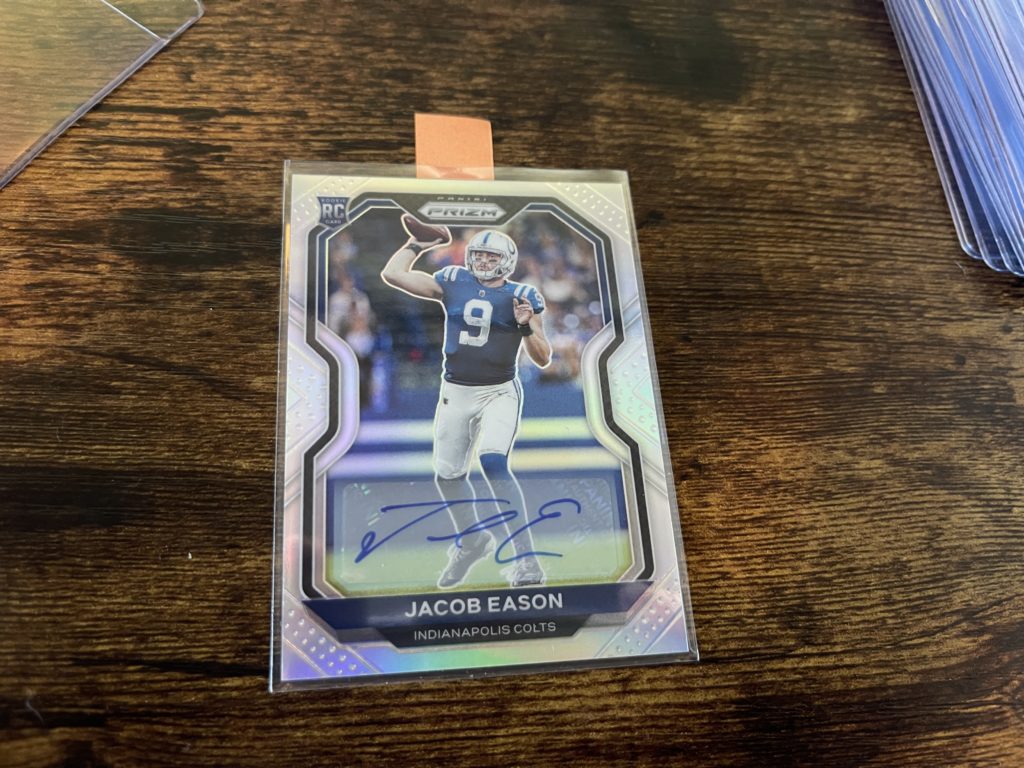
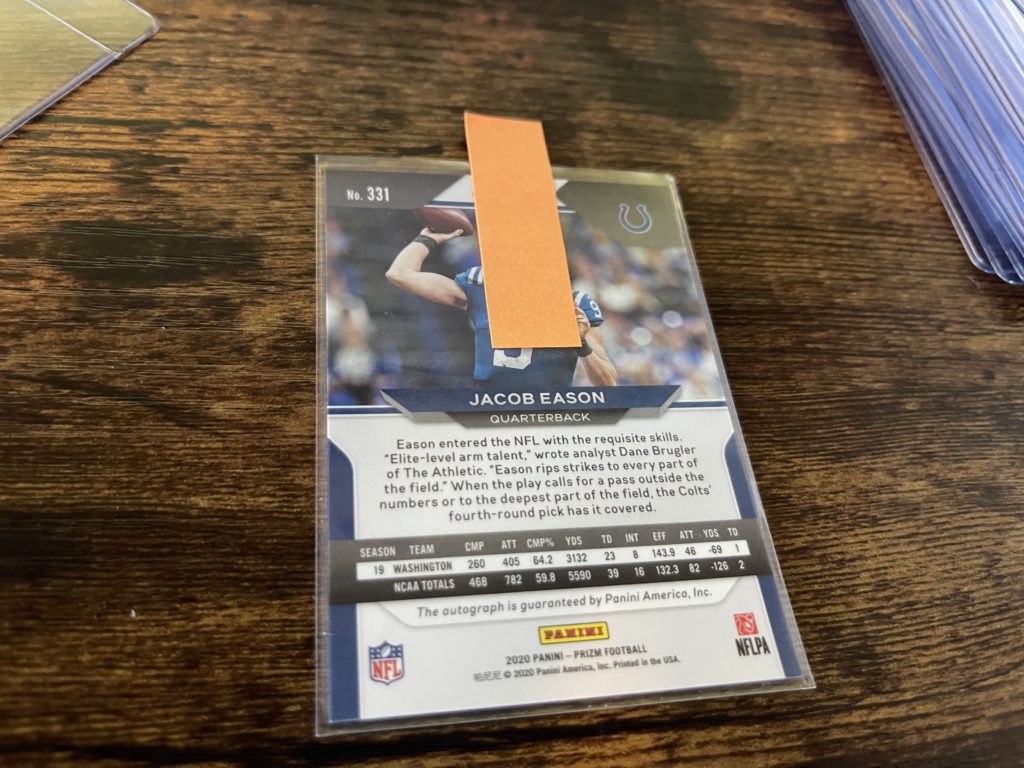
Top Loader: We will keep with the theme here, it is all about ease of getting your card out. For this, we highly recommend the Card Saver 1 top loaders. The sticky note is easily accessible, and the top loader when combined with other top loaders creates a safe barrier for shipment to PSA.
Rubber Band: Once you have your cards packaged up, place them in a row/stack, and place a rubber band around the sides. This will create a “brick” of cards when shipped, preventing any damage in the shipping process.
We hope this guide has helped you in sending your cards to PSA, but as always, if you don’t have the time or energy to do this, we will gladly do it for you. Also, feel free to check out our Zoom consulting service, where you will get a 45 min zoom call with us where we can help step you through the process.
Posted on Jun 14th, 2022 by Brian
In 2014, Beckett Grading Services introduced the Black Label 10 as a new standard of a pristine card. Black labels are a rare de...
Posted on Jun 1st, 2022 by Brian
Austin, TX - Card grading services company Diamond Elite Cards (DEC) recently completed its acquisition of competitor Cade’s B...
Posted on Dec 15th, 2021 by Blake Bowman
Learning how to grade your collection can be a daunting task. Perhaps you know the basics, but lack the confidence to make the d...
